So yeah.
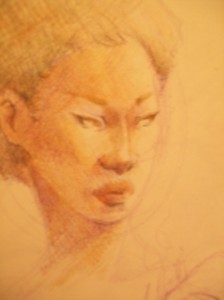
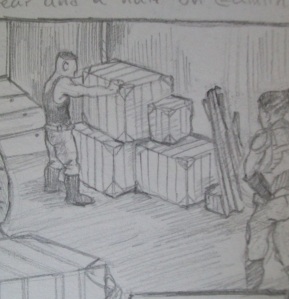
Found this old comic about space marines and evil aliens and stuff in my old notebook.

I forgot that I had even done it.

It’s by no means much good, but it was a lot of fun.

Maybe I’ll add more.
Humans.
They are cool.
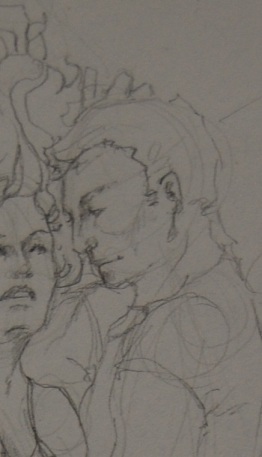
I think I mentioned before that I love to send postcards and letter.

Lately I’ve been meaning to send some of these, but I haven’t, since I’ve been so busy.
I have this weird combination of cold and allergies going on, which is… weird, and not cool. So here is an old postcard I sent to my sister.
I don’t get to see her as often as I’d like, so I send her post cards. Ideally I send one a week, but I haven’t done for quite some time. There just might be one in the mail tomorrow though…
Nobody knows who printed this reduction.
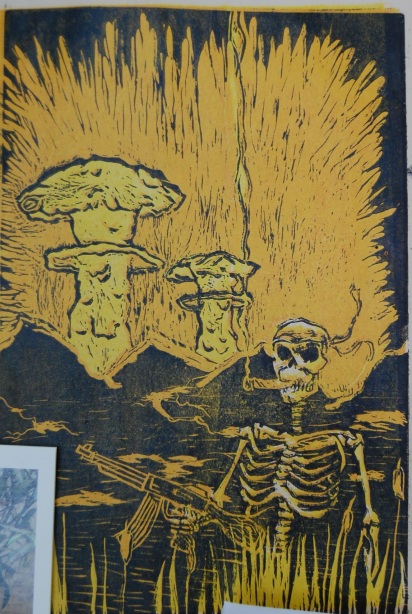
I passed it everyday at school pinned up on the printmaker’s board. It’s old and yellowed, obviously an artist’s proof on newsprint. I asked around, curious as to who had done it.
Nobody has an answer for me.
After talking to some people who were interested in the process of soft ground, I decided to do a little longer post talking a bit about how you actually make a print. It’s a lot more time consuming than a lot of people think, you print and you refine and you print again and repeat that until you have what you want.
So basically you start with a zinc plate, one side is coated in lacquer in order to protect it from the acid and the other side is plain metal. You have to prepare the plate by filing down the sides to a beveled edge, then round the corners, once you’ve done that you polish the plate and get it shiny enough that you can see yourself in it. That’s standard fare for any intaglio technique.
The next step is getting the soft ground on the plate, which is pretty easy. As I understand it soft ground is generally composed of wax, resin and bitumen, it never hardens, which is why it’s called “soft” ground. So you take your plate and put it on a hot plate, let it sit for a couple seconds and then melt the soft ground onto it, using a small brayer to coat the plate evenly. It goes on nearly transparent, just enough that you can see it’s there.
In our studio the softground is in a disgusting little tin with a crusty little spoon. You get some on the spoon and melt it onto the plate and use a specific brayer which has been used only for soft ground, this means the soft ground not only coats your plate but it also coats the brayer and they each transfer soft ground to each other.
After that you let your plate cool. Once it’s cool you take a piece of thin charcoal paper (this adds texture to the lines) and draw whatever your idea for a sketch is on it, place it gently over the plate and go over the design with a ballpoint pen so that you can see where you’ve been should you be interrupted. The pressure of the pen transfers the soft ground from the plate to the paper where you’ve drawn the lines, leaving the metal of the plate exposed where you’ve drawn. You then take your plate to etch, which is done in a nitric acid solution.
The acid eats away any exposed metal, which is why the back is lacquered. it does not eat through the soft ground, only the places that are exposed where you’ve transferred the lines. The longer you leave a plate in acid, the deeper the etch, the darker the line. For this soft ground the line was approximately 2 minutes in the acid, after which you remove the plate and run it undercold water to wash away any acid left on it.
If you’re not in printmaking I you don’t have to print here, and if you don’t print with the line you can just gently dry the plate with a paper towel, careful not to be rough and remove any of the soft ground, but I happen to be in printmaking I, and besides that, I like to have a reminder of what I was doing in the process. So for the sake of this explanation we want to print the line etch before moving on.
First you have to remove the soft ground — this is done with mineral spirits, then the plate is washed in cold water with a little soap to remove any remnants of the solvent. The plate is then dried and then you can print. To print you then have to mix the ink. The easiest way to do this is to use a jar of already partially prepared ink, vine black, and add a bit of burnt plate oil #3 to it. The amount of oil depends on the amount of ink, so you have to go simply by consistency. You can also mix the ink up from scratch, using pigments, modifiers and oil. I prefer to mix from scratch, but it’s very time consuming.
OK, so the ink is mixed up and at the right consistency, you take a bit of it and draw a bead out with a small, flexible spatula, then you roll that bead out with another brayer, charge the brayer and ink up your plate. Using a stiff, cheesecloth like fabric called a tarlatan you then have to wipe away the ink from the surface of the plate — wipe too little away and you have a dark, messy print. Wipe too much away and you strip the plate, take too much ink off or out of the etched lines and make it look vapid when you print.
Don’t forget that your paper has to soak, some papers take 15 minutes some take a day or two. After the paper is soaked and you’re ready to print, you blot the paper so it’s not excessively wet when you print.
There’s no good way to tell how much to take off, you just have to get a feel for it, but once you get it, you get it. The print below is my line etch of the Jaguar, which is not quite wiped enough. I ran it through the press at a pressure of 10/2

The next step is to clean the ink off your plate again with mineral spirits, degrease it with soap and water again and recover it with the soft ground. Again you let it cool, then you can start to texture it. This is the fun thing about soft ground. I chose to use textured fabric, but you can use almost anything that will not damage the press.
For the jaguar I cut a chunk of burlap, and the background was pieces of corrugated cardboard with the top layer stripped away. These are gently places on the plate which sits on the press bed. On top of that goes a piece of wax paper to protect the soft ground, then a piece of chip board, then 1 felt. You run it through at a much lighter pressure than the actual print, I think for this one it was 0/3l.
This transfers the texture of the fabric onto the softground, but because you cut a large chunk and place it on the shape you want, you need to shape it. To do this you go over what you do not want to etch with a solution called stop out varnish. Unless one of your classmates contaminates it with something, the stop out varnish keeps the acid from coming through to the plate.
This is followed by a timed etch, which was approximately as follows:
in/out – lightest
30 sec – light gray
1 min – gray
2 min – darker gray
3 min – darker
5 min – black
After each etch you cover the section you want to keep light, let it dry, then return the plate to the acid. The plate is then cleaned again, removing the soft ground and inked up for printing.
After my first go in the acid following that sequence I had this:

Once you see what you have, you recover in soft ground, decide where you want to add more and do another transfer on the press. I chose to come in with another piece of corrugated cardboard and to use corduroy to come in and shadow the jaguar.
After that initial etch you can come back and decide how long to etch for. In this case I stopped out everything except for the cardboard, (1 minute etch after which I covered that section), and the courderoy on the nose and the dark shape down the jaguar’s side, (5 minute etch).
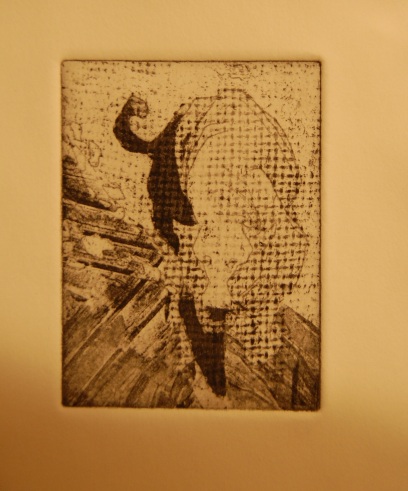
By now you know the drill, clean, print, clean, re-cover, transfer, stop out, etch, clean, print.
I came in here with a small 2 minute etch on the side to accentuate the curve of the torso and add some mid tone and also an etch for the front paw, which was not dark enough to even notice, still using corduroy for all the shadows.

Next another 2 minute etch to bring in the large shadow on the front right, and a 7 minute etch on the front paw.
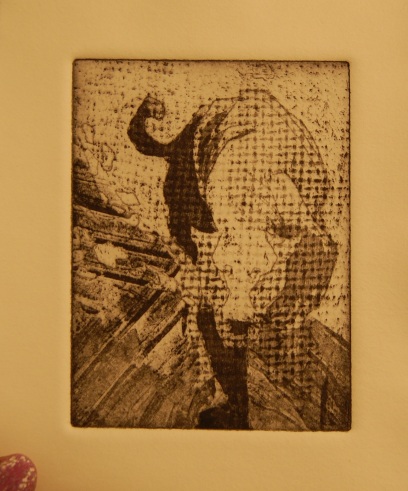
Finally I came in with one last etch above the right front shadow, (1 minute), and a couple lines at the curve of the right front paw (5 minutes).

Once you get to a place you’re happy with, then you’re ready to print your final edition.
Wow, that was long.
Now you know.